Getting started
You only need Docker (with Compose v2). You don’t need Node.js or Postgres on your machine.
- 1. Start the app
- 2. Create an account
- 3. Create a Discord webhook
- 4. Create a relay
- 5. Point the service at the relay
- Stopping and starting
- Next steps
1. Start the app
git clone https://github.com/bhumit070/send-anywebhook-to-discord.git
cd send-anywebhook-to-discord
cp .env.example .env
Open .env and set two values:
APP_SECRET=      # generate one: openssl rand -hex 32
POSTGRES_PASSWORD=  # any strong password
Then start everything:
docker compose up -d --build
The first build takes a few minutes. When docker compose ps shows all three services as healthy, open:
| URL | What |
|---|---|
| http://localhost:5252 | The web UI |
| http://localhost:5252/docs | Swagger API docs |
| http://localhost:5252/healthz | Health check ({"status":"ok","db":"ok"}) |
Database migrations run automatically every time the backend starts. There’s no separate setup step.
Don’t want to build images? See Prebuilt images.
2. Create an account
Open http://localhost:5252 and click Sign up. Passwords need at least 8 characters.
Running the app only for yourself on a private network? Set AUTH_DISABLED=true in .env and skip logins entirely. See Configuration.
3. Create a Discord webhook
In Discord, open the channel’s settings and go to Integrations → Webhooks → New Webhook. Optionally give it a name and avatar, then click Copy Webhook URL. It looks like this:
https://discord.com/api/webhooks/123456789012345678/AbCdEf…
4. Create a relay
Click New relay and follow the three steps:
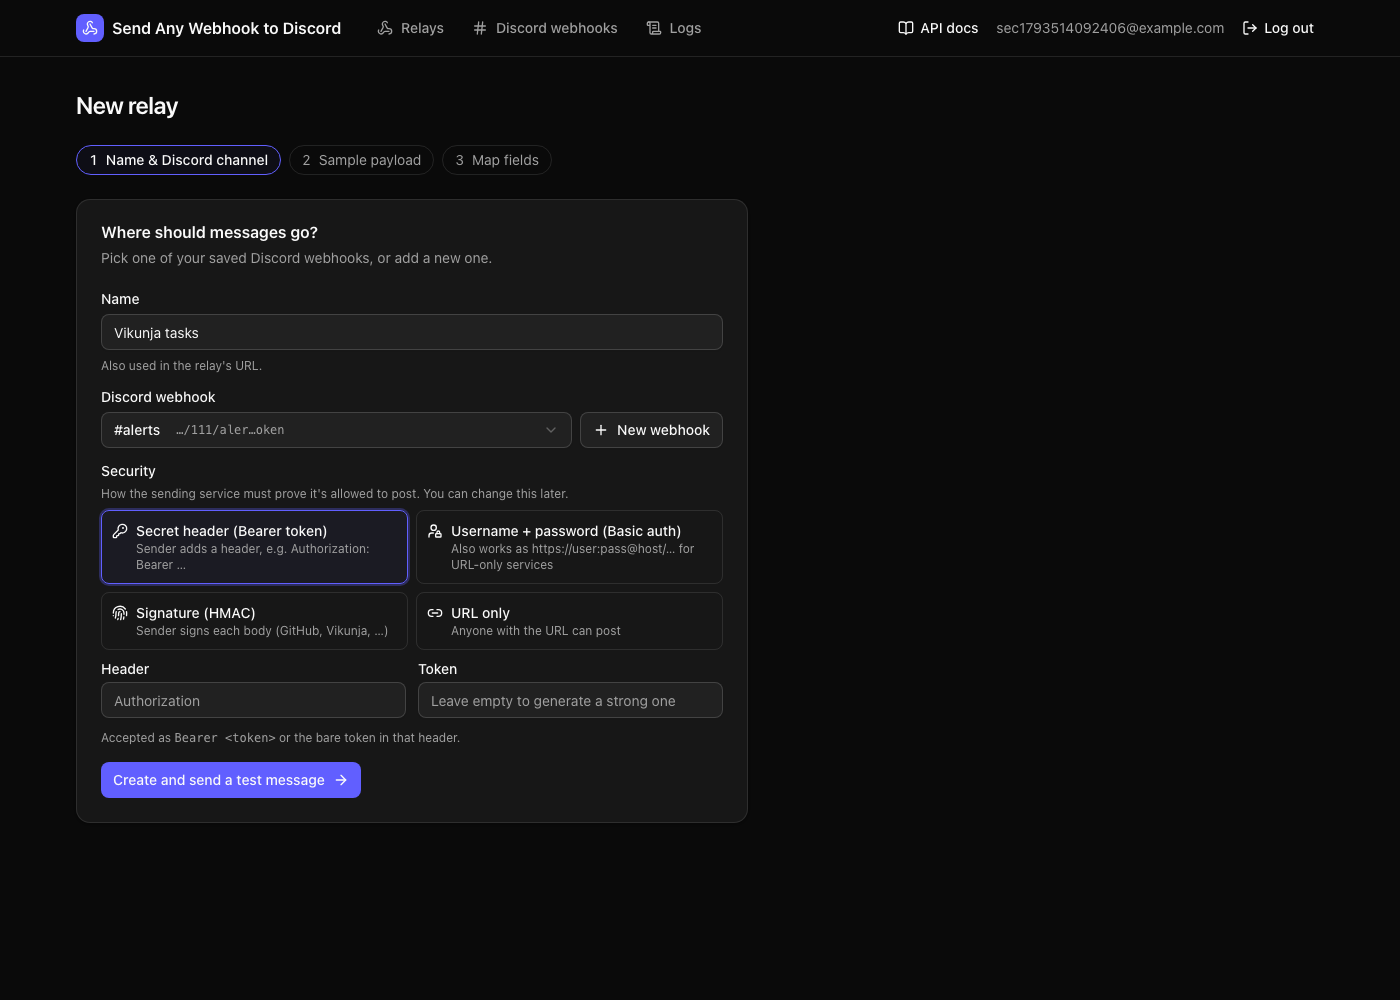
- Name, Discord channel and security.
- Enter a name (it also becomes part of the URL).
- Pick a Discord webhook from the dropdown. The first time, click New webhook, give it a name like
#dev-alertsand paste its URL. It’s saved to your list and selected automatically. - Choose how the sending service must authenticate: a secret header (the default), username + password, an HMAC signature, or URL only. See Security.
The app sends a test message to the channel so you know it works.
- Sample payload. Show the app what the other service sends. Choose one:
- Paste JSON: an example from the service’s docs.
- JSON Schema: the app generates an example from the schema.
- Capture live: point the service at the relay URL and trigger an event. The first webhook that arrives becomes the sample.
You can skip this step and add a sample later.
- Map fields. Auto-map fills in a sensible embed from the field names. Adjust anything you like (see Mapping fields) and click Save and finish.
5. Point the service at the relay
Copy the relay’s URL from its page and paste it wherever the other service asks for a webhook URL, along with the credentials shown under Security.
To try it first, open Try it with curl on the relay’s Setup tab (it’s already open right after you create a relay). It’s a ready-to-paste command that sends your sample payload with the right credentials, for example:
curl -X POST 'http://localhost:5252/h/<your-relay-key>' \
  -H 'Content-Type: application/json' \
  -H 'Authorization: Bearer <your-token>' \
  --data-binary '{
  "event": "task.created",
  "title": "Fix login bug"
}'
You should get 202 back and see the message in Discord within a second or two. If not, open the relay’s Logs tab: each webhook shows its status and the exact error. Also see Troubleshooting.
Stopping and starting
docker compose stop      # stop, keep data
docker compose up -d     # start again
docker compose down      # remove containers, keep the database volume
docker compose down -v   # remove everything, including all data
Next steps
- Put it behind HTTPS so other services can reach it.
- Learn conditional templates to format different events differently.
- See how retries and the logs work.